This is one of a series of recipes I'm posting in order to NOT keep my recipes secret. Some of them are family recipes, others I've cobbled together over the years from various sources, adding my own twists.
I hear some of you have been awaiting this recipe for quite some time. I had been keeping it a secret, because I like being renowned for making something "only I" can make, but that's just selfish. Everyone should be able to eat delicious pumpkin pie if they want to take the time to make it.
The first step is to buy a pumpkin. This is important, and I understand it may be too late in the year for this now. It doesn't have to be a "pie pumpkin". I've never used one. Just buy a medium Jack O'lantern pumpkin that is heavy for its size and is intact with no visible mold. Each recipe makes two pies, and a medium pumpkin will make 3-4 recipes. Wash off any dirt, then chop it up, take out the seeds (you can toast these in the oven if you like; they're not my favorite, but Ollin and Simone can't get enough) and most of the strings, and toss it in a stock pot, or whatever pot you have. You can always do more than one batch if it doesn't all fit. Put an inch or two of water in the bottom and get it boiling.

This is my stock pot, it's big. It fit the whole pumpkin perfectly. Actually, I should call this my pumpkin pot, because I've never made stock in it.

Throw a lid on that and turn it down to medium low. Peek in once an hour and drop a salad fork on whatever pumpkin flesh is showing. If it goes in pretty far, it's done. If it bounces off, cook it longer. You don't want to undercook it, but I've never had it be too soft.

Drain it in your sink in a colander. You might notice some little white spots on the edges of the pumpkin. I have no idea what this is and a google scan revealed nothing, but it always happens. The pumpkin is still usable and will make tasty and delicious pie.

Peel the skins off. Alternately, you could freeze the chunks as they are, and when you thaw them the skins will come right off. I prefer to peel them fresh and freeze them in freezer bags all measured out for pie (3 cups per recipe). That way I can just grab a bag to thaw and throw it right in the blender without having to measure again. Some people leave the skins on; these people are insane. Associate with them at your own risk. If you don't have fresh pumpkin available, you might feel like trying canned. I never have, so I can't tell you how it will come out, but freshness makes all the difference in every other recipe I've tried, soo...
Anyway, enough about pumpkin. Now let's talk about crust. I've heard the debate. Butter or Shortening? A combination? What do?
Well, I've never used either. When I've eaten other crusts, they are very heavy. They taste good, but they are thick and kind of crunchy, almost like shortbread. This is not a good texture, in my oh-so-humble opinion. I like crust to be light, sort of flaky, and rather thin. So I use liquid oil, usually canola, in my crust. I've used olive, too, but just regular, not extra virgin.
Note: Somewhere in here you're going to need to start pre-heating your oven to 400 degrees. When the best time is depends on how fast you are and if you want to heat up your kitchen.
Here's what you'll need:
Slightly less than 2 cups of flour, or 250g. All-purpose is fine, unbleached is what I like.
1/2 cup of oil (a little more is perhaps beneficial)
1/4 cup milk
I like to measure the oil and milk together in the same measuring cup, then beat it up with a fork until it looks like a bunch of little white and yellow gems, but you can just dump it on top of the flour. Make sure the flour is all incorporated, but don't mix it any more than you absolutely have to.

Smoosh it all up into a sort of a ball.

Cut the ball in half. This recipe can also make the top and bottom crust of one fruit pie instead of just bottom for two pumpkin pies, if you like that sort of thing.

Take one half of your dough and put it between two pieces of waxed paper. This is another thing I don't understand; people say a lot about how hard it is to roll out pie crust. I just don't see it. Maybe other crusts can't use wax paper because they need to incorporate more flour? I use two pieces of wax paper, about as long as the roll is wide. This is perfect for a 9" pie plate, which is what I use.
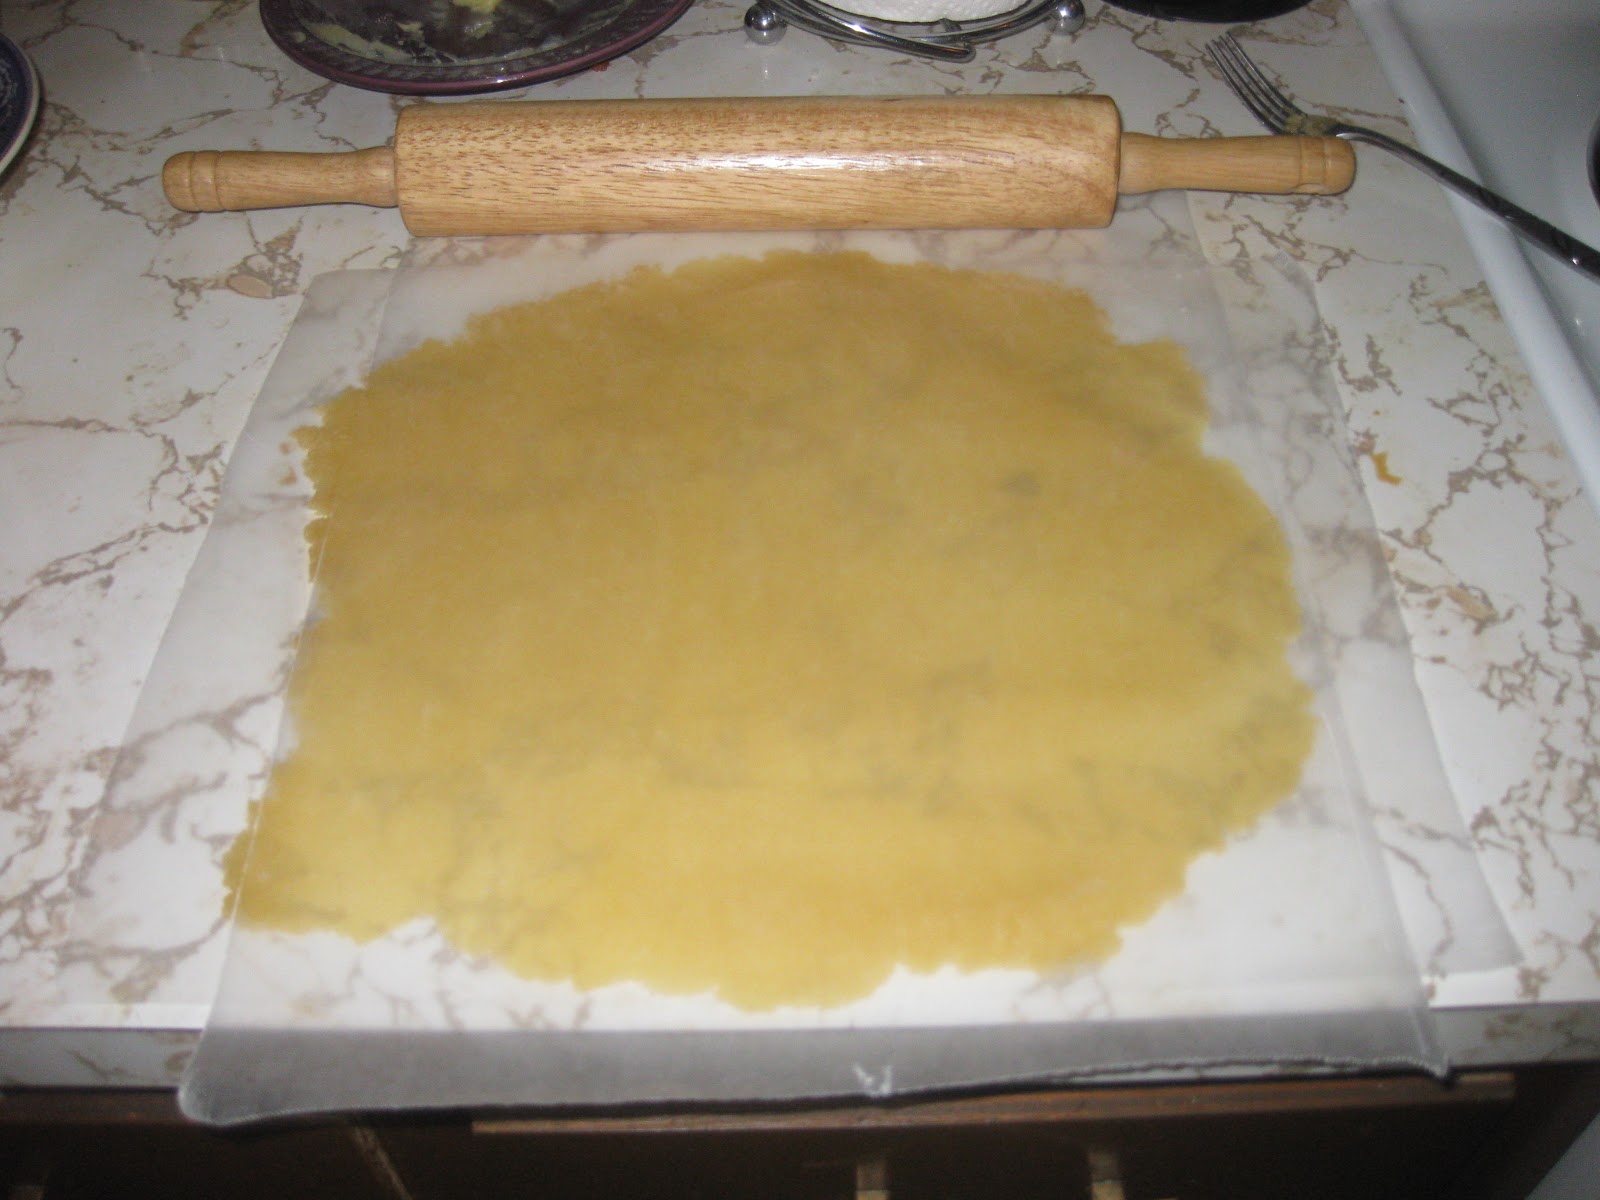
Roll it out until it's as big as the width of the wax paper and kinda round/square. If you don't have a rolling pin, try other stuff, like the wax paper roll or a jar.

Peel the top paper off the rolled-out crust.

Flip the crust over onto your 9" pie plate and push it gently down into the bottom, going from the center to the edge, sort of like applying a window-cling. Try to prevent large bubbles from forming, because air trapped in them will expand and can make your pie funny-looking.

This is the tricky part. Carefully peel the wax paper off. I do the edges first, peeling the paper and pressing the crust against the sides of the plate. Sometimes you have to scrape it with your fingers, if there's a fold. Don't worry if it breaks in a few places. Once the edges are free, the bottom should peel right off.

Now it looks like this. Pierce any big air pockets with a fork and press the air out of them. Pull off any crust that's hanging over the rim and use it to repair any breaks, or fold it over onto the inside edge to make the upper edge thicker.

My lovely model Simone is showing you how to "scallop" the edges. You see the little ridge at the top? That's where I folded over the edge of the crust. To make it pretty, you can pinch it like this between your fingers. You can also leave it rough, it's up to you.
Now go do the same thing to the other half. I'll wait.
Done? Good. Now it's time to make the filling. You'll need a big, big bowl for this, and a blender or food processor. Or a potato masher, if you're some kind of technophobe or your blender exploded. It happens. I was given a new blender for my birthday, Just In Time for me to use it for pie.
4 large eggs
3 cups pumpkin
1 1/2 cups sugar (this can be reduced by as much as half without affecting the texture, if you like your pie less sweet)
1/2 tsp salt
2 tsp ground cinnamon
1 tsp ground ginger
1 12 oz can evaporated milk
optional: 1/2 tsp ground cloves
optional: 1/4 tsp nutmeg
note: I've used cloves, and I like it that way, but my standard recipe doesn't use them. I've never used nutmeg because my mom, who taught me this recipe, HATES it and she often eats some of the pie I prepare, but a lot of people like it. If you're one of those, feel free to experiment.

Break out your blender. Crack your four eggs directly in. I'm using a knife here because my blender has a plastic jar to which eggs are impervious. When I was little, I remember my mom slaving away at this with a potato masher until she realized the blender was way more convenient. She had some ropy arm muscles.

Here's one of those pre-measured 3-cup bags of pumpkin, how awesome is that? Toss it in the blender with the eggs and run it until it's smooth.

It doesn't really matter what setting you use. I progress up to liquefy. Sometimes if you progress too quickly, the blades will knock the entire mixture up above the blades, and they'll just spin. This sucks, but just give the jar a shake and start again. The point is to get it super smooth and mixed up really well.

Pour it into your big big bowl.

Add your sugar.

Mix it with a whisk.

Add your spices: Salt, Cinnamon, Ginger, and the optional Cloves and or Nutmeg. Whisk that all up.

Pour in the evaporated milk. and whisk it all up nice.

Looks good already!

Pour it into the prepared crusts.

These are ready for the oven! Put both of these in your preheated 400 degree oven and cook them for 15 minutes or so; this helps to brown the exposed crust. Then turn it down to 375 and cook them 45 more minutes. You can tell it's done if the crust is nicely browned and the top of the pie looks dry. It may crack a little around the outside, too. That's okay, but if you see that, you better take it out. It'll be a bit puffy at first, but it'll settle as it cools.
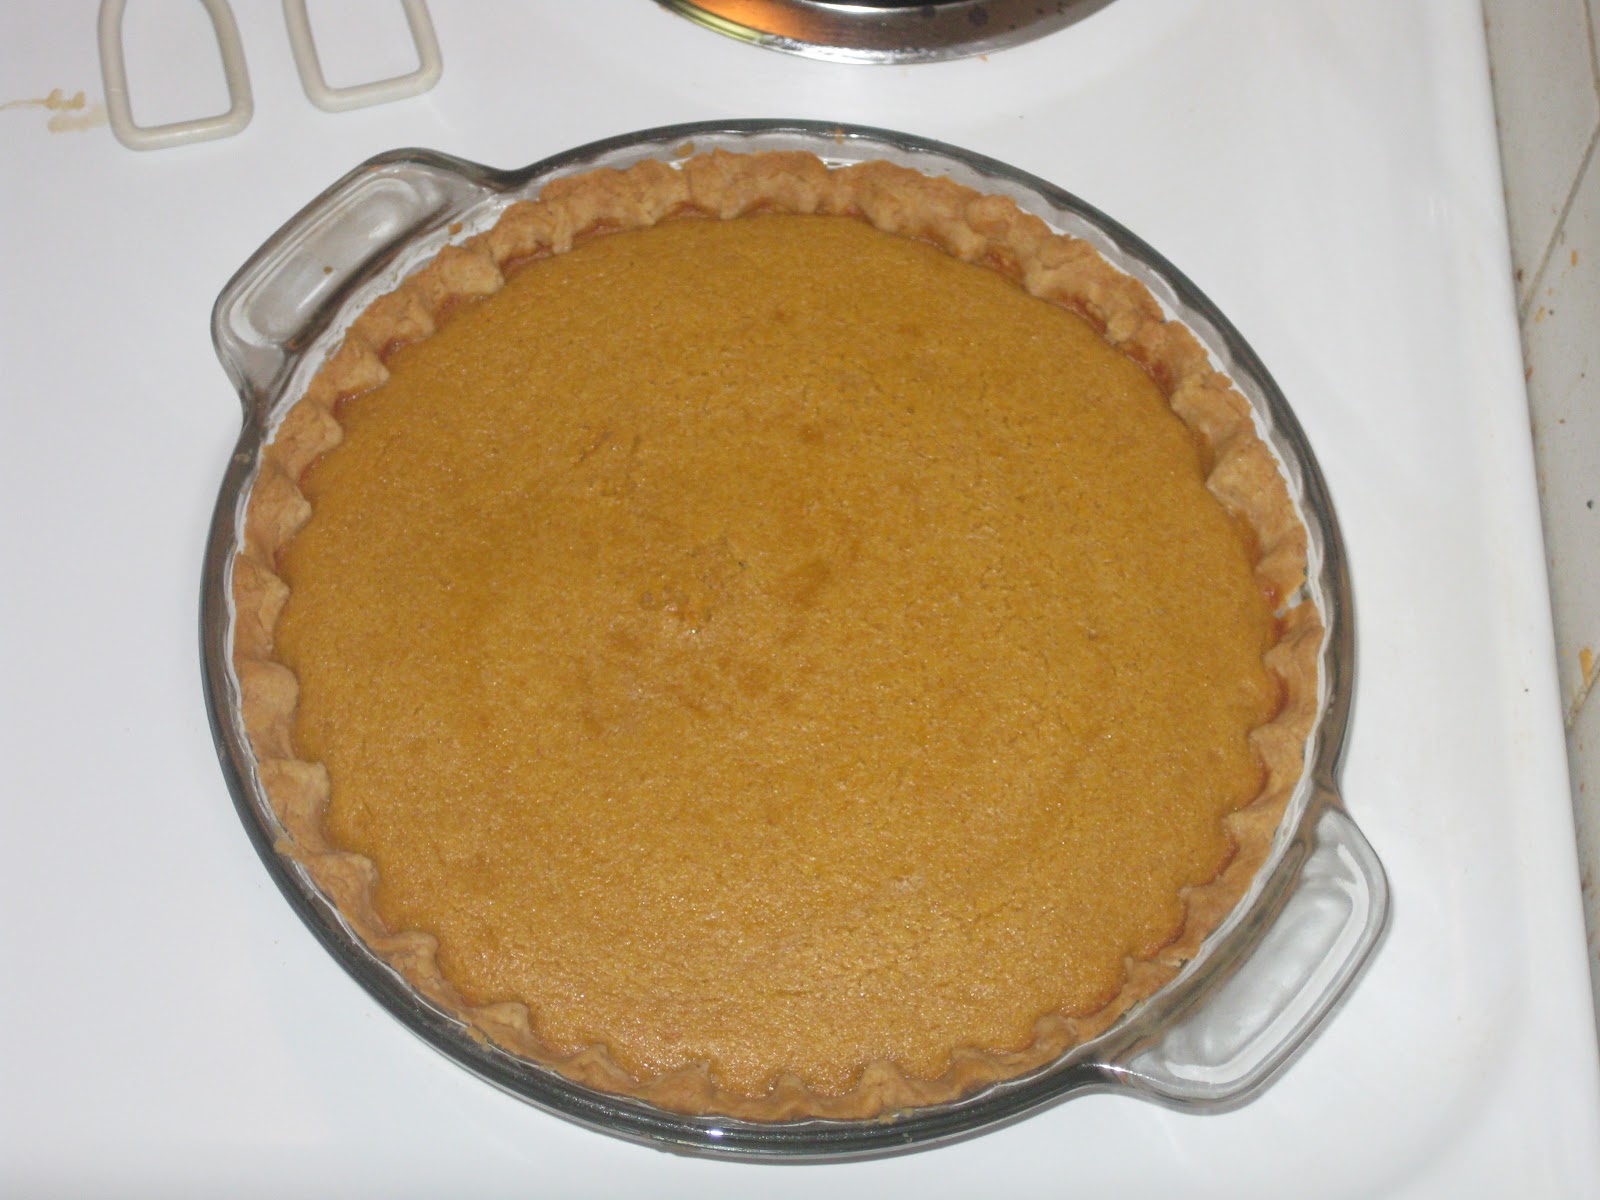
Fresh out of the oven, a little puffy. Cool it on a rack if you want to eat it before the end of time. Seriously, time dilation occurs while waiting for a pumpkin pie to cool. If you don't cool it on a rack, the universe might come to an end before you get to eat the pie, and that's a real tragedy.

Two glorious looking and delicious pumpkin pies! You can serve it by itself, or with your favorite topping. Mine by far is fresh whipped cream, but reddi-whip or cool whip are acceptable. Oh, and that little burnt spot on the crust on the left-hand pie is where I spilled a drop of filling on the crust. It looks a little funny, but has no effect on the taste.
This will keep for a few days in the fridge, covered with plastic wrap. I've never had one last long enough to go bad if kept in the fridge. If you leave it on the counter overnight, it's probably okay the second day, but after that you probably don't want to eat it.
And there you have it!